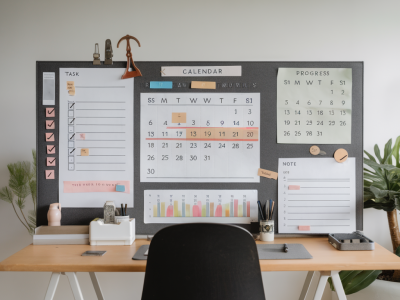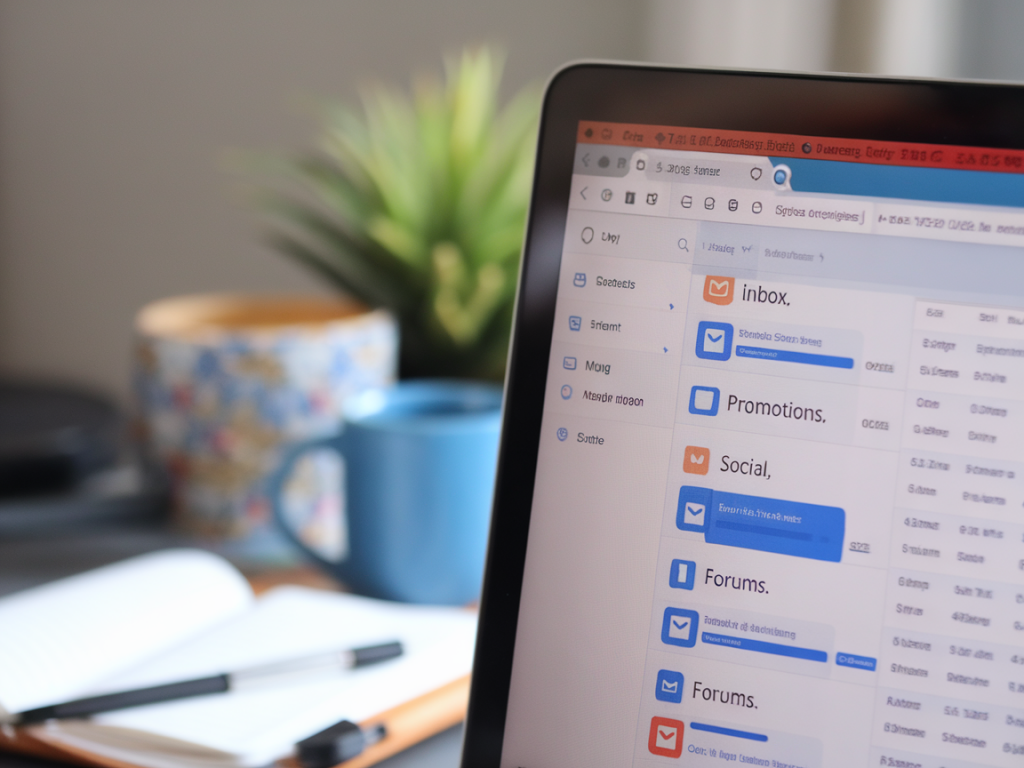
I used to open my inbox and feel a little flutter of dread — not because of the important emails, but because everything felt like it was vying for attention at once. Over the years I’ve learned that a few well-designed Gmail filters can change that feeling entirely. Below I’ll walk you through a step-by-step approach I use to declutter my inbox with filters that actually stick, including practical tips for testing, organising labels, and keeping things working long-term.
Why filters matter (and what they can do)
Filters are the closest thing in Gmail to muscle memory for your inbox: once they’re set up, your email starts behaving the way you want automatically. With filters you can:
- Apply labels so emails are grouped into tidy folders
- Skip the inbox for newsletters and automated messages
- Mark messages as read so only emails requiring action appear unread
- Forward emails to other accounts or teammates
- Automatically archive or delete low-value messages
Step 1: audit your inbox for patterns
Before creating filters, spend 10–20 minutes noticing recurring senders and types of messages. I look for:
- Newsletters and promotional emails
- Notifications from apps (Slack, Trello, GitHub, etc.)
- Receipts and confirmations
- Personal emails from family and friends
- Mailing lists or memberships
Make a quick list of what you want to keep in the inbox vs what can be filed automatically. For me, anything that doesn’t require a reply or decision is a candidate to skip the inbox.
Step 2: learn the useful Gmail search operators
Filters are built from search operators. These are the ones I use most:
- from:[email protected] — sender
- to:[email protected] — recipient
- subject:"monthly report" — phrase in subject
- has:attachment — emails with attachments
- is:important or is:starred
- label:unread and older_than:1y
- -from:[email protected] — the minus sign excludes
Combine operators for precision: from:[email protected] OR subject:(daily deal) finds either sender or subject matches.
Step 3: create filters step-by-step
Here’s the exact workflow I use inside Gmail (web):
- Click the search bar and type your operator (e.g. from:[email protected]).
- Click the small dropdown at the right of the search bar to open the advanced search dialog.
- Review the preview results so you’re not accidentally filtering the wrong messages.
- Click Create filter at the bottom-right of that dialog.
- Choose actions. Typical combinations I use:
- Apply the label: "Newsletters" (create nested labels for clarity)
- Skip the Inbox (Archive it): keeps it out of the main view
- Mark as read: for things I never need to mark as new
- Also apply to matching conversations: check this to catch old messages
- Click Create filter and test it.
Step 4: label strategy that lasts
Good labels make your filtered mail useful instead of hide-and-forget. My label system is deliberately simple:
- Inbox (default — only for actionable items)
- Newsletters
- Receipts
- Work / Projects (nested: Work > ProjectA)
- Reference
Use nested labels for projects and color-code important ones. Labels should answer: “When I look for this later, where would I expect to find it?”
Step 5: build filters for common scenarios
Some filters I recommend everyone create:
- Receipt/Order confirmations: search for words like receipt, order confirmed, and apply label + skip inbox.
- Newsletters: filter by common newsletter senders or by subject keywords like newsletter or subscribe, then apply label and mark as read.
- Notifications from apps: filter by sender domains (@slack.com, @trello.com) and either label + skip inbox or forward to a team inbox.
- Low-priority newsletters: use -is:important in the filter to avoid accidentally archiving things your mail client has marked important.
Step 6: test, iterate, and avoid common mistakes
Filters can be powerful but also unforgiving. A few practical tips to make them stick:
- Always preview your search results before creating the filter so you don’t catch personal emails by mistake.
- Start conservative: archive or label first; only enable deletion when you’re 100% sure.
- Use the “Also apply filter to matching conversations” checkbox to clean up the backlog at the same time.
- If a filter misfires, edit or disable it from Settings → Filters and Blocked Addresses.
Maintenance and a simple routine
Filters aren’t “set and forget” — I revisit mine quarterly. My maintenance steps:
- Scan the Labels list for unused or rare labels and delete or merge them.
- Look in the Spam and Trash for false positives.
- Search for common senders that have changed domains and update filters.
- If you use an email client (Apple Mail, Outlook), make sure server-side Gmail filters are doing primary filtering to avoid conflicts.
When to use third-party tools
Tools like Clean Email, Unroll.Me or SaneBox can speed up an initial clean-up by grouping similar messages. I’ve used Clean Email to quickly bulk-archive thousands of marketing emails. Two caveats:
- Check their privacy policy — you’re granting access to your mailbox.
- Use them for one-off cleanups rather than long-term automation; server-side Gmail filters are safer for ongoing sorting.
Quick reference table: common filter actions
| Need | Search example | Suggested action |
|---|---|---|
| Newsletters | from:([email protected]) OR subject:(newsletter) | Apply label “Newsletters”, Skip Inbox, Mark as read |
| Receipts | subject:(receipt OR "order confirmed" OR invoice) | Apply label “Receipts”, Skip Inbox |
| App notifications | from:(@slack.com OR @github.com) | Apply label “Notifications”, Skip Inbox |
| Important personal | from:([email protected] OR [email protected]) | Apply label “Personal”, Never send to Spam, Star |
One final practical habit that changed how I feel about email: I aim to leave my inbox at the end of the day with only items that require my action. Everything else is filed, archived, or scheduled. Filters make that attainable — you just have to design them thoughtfully and maintain them. If you want, tell me what’s clogging your inbox and I’ll suggest a specific filter formula to try.